A slip ring connector is an essential component for any DIY surveillance or video project. It allows for a continuous electrical connection between two rotating parts, while also providing a secure and reliable connection. In this article, we’ll take a look at how to create your own slip ring connector and the components you’ll need to get started.
What is a Slip Ring Connector?
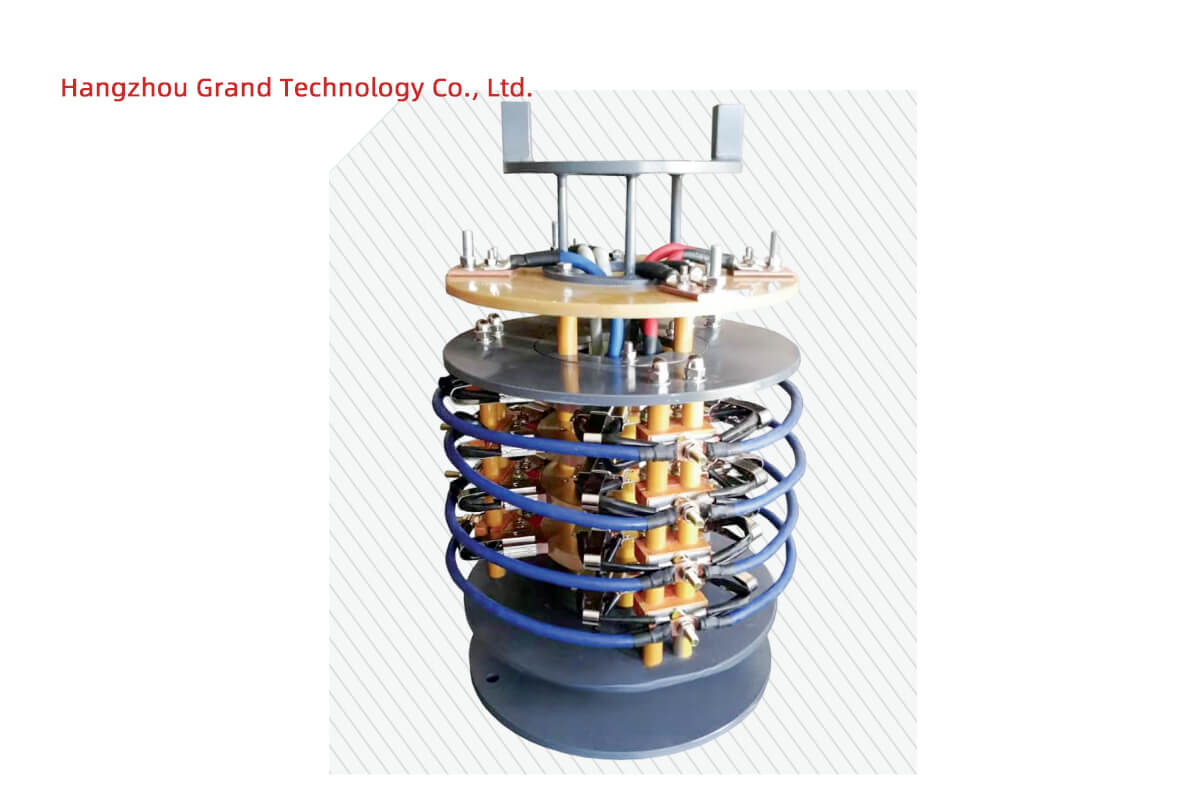
A slip ring connector is a device that allows for the continuous transmission of electrical signals and power between two rotating parts. It is commonly used in video and surveillance projects where a camera needs to be mounted to a moving part such as a rotating arm or a robotic arm. The slip ring connector ensures that the camera is always in contact with the power source, even when the arm is rotating.
Components Needed for a Slip Ring Connector
In order to create a slip ring connector, you will need the following components:
- A slip ring
- Two electrical connectors
- Two wires
- A soldering iron
- Solder
- Heat shrink tubing
Step-by-Step Guide to Creating a Slip Ring Connector
Once you have all the necessary components, you can begin creating your slip ring connector. Here is a step-by-step guide to help you get started:
- Attach the two electrical connectors to the slip ring. Make sure that the connectors are securely fastened to the slip ring.
- Cut the two wires to the desired length and strip the ends of the wires.
- Solder one end of each wire to the respective electrical connector.
- Wrap the heat shrink tubing around the soldered connections.
- Use the soldering iron to heat the heat shrink tubing, ensuring that all the connections are securely insulated.
- Your slip ring connector is now ready to use.
Creating a slip ring connector is a relatively straightforward process. With the right components and a bit of patience, you can easily create your own slip ring connector for your DIY surveillance or video project.
See What We Can Do