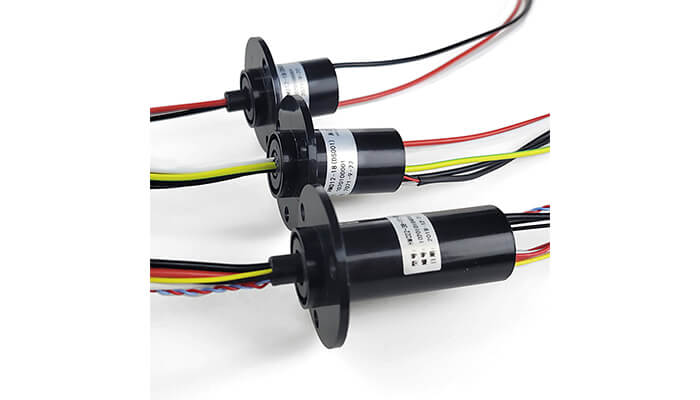
Do-it-yourself (DIY) electrical slip rings are a great way to save money when you need to transfer power or data signals between stationary and rotating components. A slip ring is a device that allows for the transmission of power or signals between two separate axes, even when the axes are rotating. In this guide, we will walk you through the steps of making your own electrical slip ring.
What You Will Need
To make your own electrical slip ring, you will need a few basic tools and materials. Here is a list of what you will need:
Materials Needed:
- Conductive Rings: Copper or brass rings.
- Brushes: Carbon brushes or conductive brush materials.
- Insulating Material: Plastic or any non-conductive material to separate the rings.
- Rotating Shaft: A shaft that will rotate and house the slip ring assembly.
- Wiring: Wires to connect to the rings and brushes.
- Bearings: To facilitate smooth rotation.
- Mounting Hardware: Screws, nuts, bolts, and washers.
- Soldering Kit: For connecting wires to the rings and brushes.
- Housing: To encase the assembly, protecting it from dust and damage.
Tools Needed:
- Soldering iron and solder
- Drill and drill bits
- Screwdrivers
- Wire cutters and strippers
- Pliers
Steps to Assemble
- Design and Plan: Determine the number of channels (rings) needed for your slip ring, which depends on how many separate electrical connections you need.
- Prepare the Rings: Cut the copper or brass rings to the desired size. Ensure they are smooth and clean for good electrical contact.
- Insulate the Rings: Use the insulating material to separate each ring. This prevents electrical shorts between them. You can use plastic discs with holes slightly larger than the rotating shaft.
- Mount the Rings: Place the rings onto the rotating shaft, separated by the insulating discs. Ensure they are securely mounted and aligned properly.
- Attach the Brushes: Mount the carbon brushes in a way that they maintain constant contact with the rotating rings. You may need to create a brush holder using a non-conductive material to keep the brushes in place.
- Wiring: Solder the wires to the rings and brushes. The wires connected to the brushes will lead out to your stationary part, while the wires connected to the rings will rotate with the shaft.
- Bearings: Install bearings on the shaft to facilitate smooth rotation. Place them at both ends of the shaft if necessary.
- Housing: Enclose the entire assembly in a protective housing. This can be a plastic or metal casing with openings for the wires and the rotating shaft.
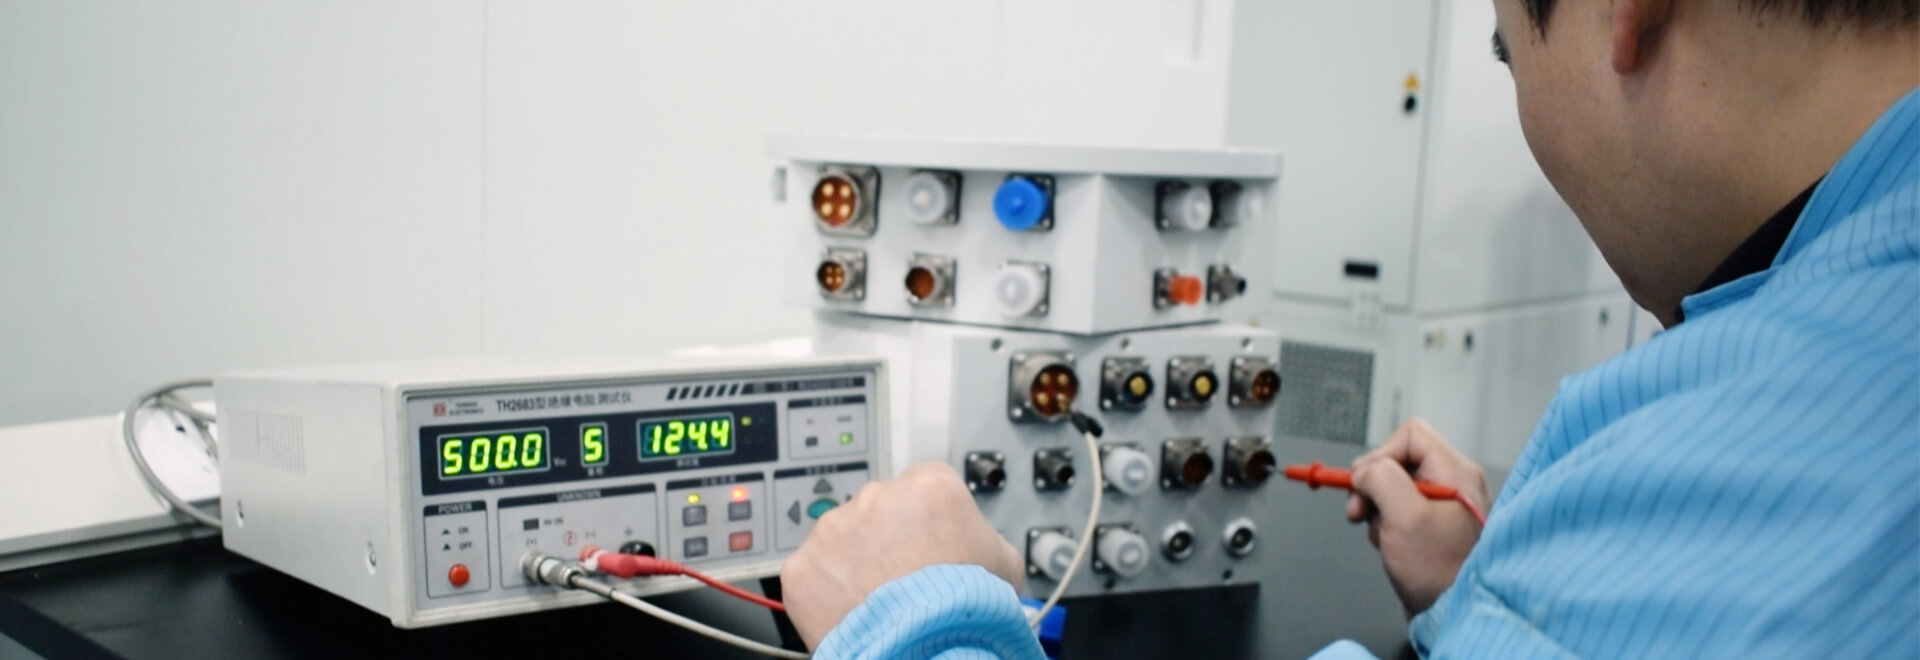
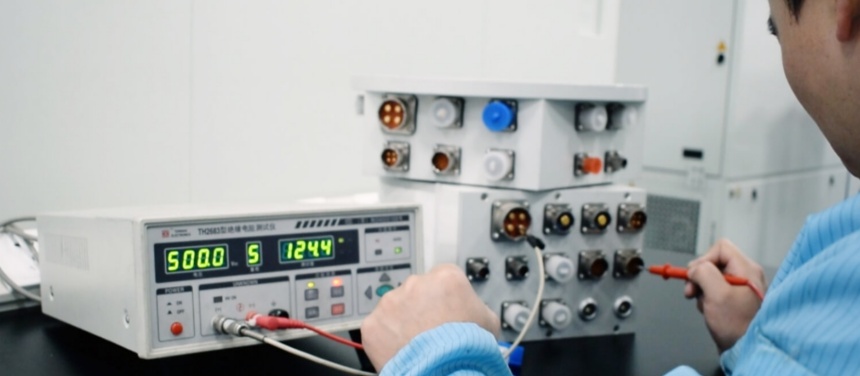
- Testing: Before full operation, test the slip ring for electrical continuity and ensure there are no shorts between the rings. Check for smooth rotation and consistent electrical contact.
Why Make Your Own Electrical Slip Ring
Safety Precautions
- Ensure all connections are secure and insulated where necessary to prevent short circuits.
- Test the slip ring at low voltages before using it in its intended application.
- Handle the soldering iron with care to avoid burns and ensure good ventilation while soldering.
This basic guide provides a starting point for making a simple slip ring. Depending on your specific requirements, you may need to adjust the design and materials accordingly.
See What We Can Do