How to Make an Electrical Slip Ring Easily
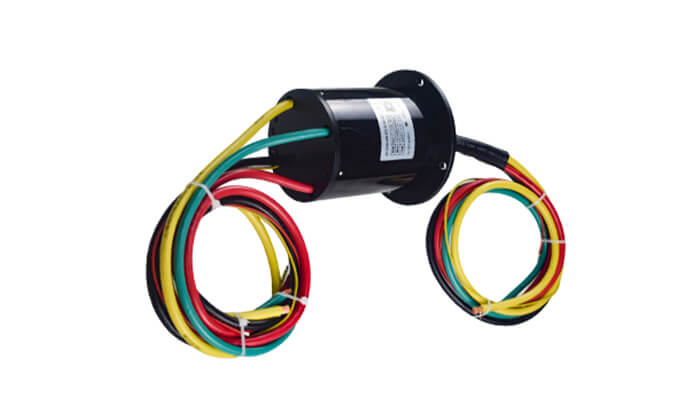
An electrical slip ring is a device that allows electrical current to be transmitted from a stationary to a rotating component. It is commonly used in applications such as wind turbines, robotics, and medical equipment. Making an electrical slip ring can be a daunting task, but with the right tools and materials, it can be done quickly and easily.
Gather the Necessary Materials
The first step in making an electrical slip ring is to gather the necessary materials. You will need a copper wire, a soldering iron, solder, and electrical tape. You may also need some additional tools and materials, depending on the type of slip ring you are making.
Prepare the Copper Wire
The next step is to prepare the copper wire. This can be done by stripping the insulation from the wire and then twisting the strands together. Once the wire is prepared, it can be soldered onto the slip ring.
Attach the Slip Ring to the Rotating Component
The next step is to attach the slip ring to the rotating component. This can be done by using a soldering iron to attach the wire to the component. Once the wire is attached, it should be covered with electrical tape to protect it from damage.
Test the Slip Ring
The last step is to test the slip ring to ensure that it is working properly. This can be done by connecting the slip ring to a power source and then observing the current flow. If the current flows correctly, then the slip ring is functioning properly.
Making an electrical slip ring can be a challenging task, but with the right tools and materials, it can be done quickly and easily. By following the steps outlined above, you can make an electrical slip ring quickly and easily.
See What We Can Do

