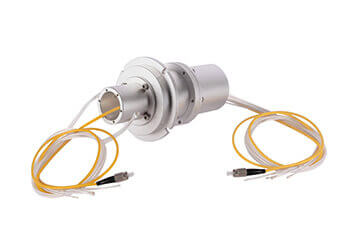
A pancake slip ring is an essential component of many electrical and mechanical systems. It is used to transfer power and data from a stationary to a rotating component. Purchasing a slip ring can be expensive, so if you’re looking for a cost-effective solution, you may want to consider making your own. This article will provide an overview of the steps involved in making a pancake slip ring.
Gather the Necessary Materials
The first step in making a pancake slip ring is to gather the necessary materials. You’ll need two pieces of copper foil, two pieces of aluminum foil, two pieces of insulated wire, two pieces of non-insulated wire, and a soldering iron. You’ll also need a drill, a jigsaw, and some sandpaper.
Cut and Assemble the Foil
Once you have all of the materials, you can begin cutting and assembling the foil. Start by cutting two circles out of the copper and aluminum foil. The circles should be the same size as the diameter of the slip ring. Next, use the drill to make two holes in the center of each circle. Then, insert the insulated wire into one of the holes and the non-insulated wire into the other. Finally, solder the two pieces of foil together.
Drill and Sand the Edges
Once the foil is assembled, you’ll need to drill and sand the edges. Use the jigsaw to cut small slots around the edges of the slip ring. These slots will help the slip ring move more smoothly. Once the slots are cut, use the sandpaper to smooth out the edges.
Test and Use
After the slip ring is assembled and the edges are sanded, you can test it out. Connect the slip ring to the stationary and rotating components and make sure that the power and data are transferring properly. Once you’re satisfied with the results, you can use the slip ring in your electrical or mechanical system.
Making your own pancake slip ring is a great way to save money and learn a new skill. By following the steps outlined in this article, you can easily create your own slip ring.
See What We Can Do

