Slip rings come in various types, ranging from through-hole devices to pancake and hybrid pneumatic models. Each model has unique applications and features, so the installation will vary from one device to the next. They also include special mounting and there is a significant difference between existing brands. Some models can be installed without professional help, but most slip ring installations involve considerable technical skill and equipment. Unless you have accomplished slip ring installation before, it is best left to professionals. Below is a brief look at how to install different types of slip rings into mechanical systems.
Types of Slip Ring
Slip rings come in various types, each designed for specific applications and environments. Here are some common types of slip rings:
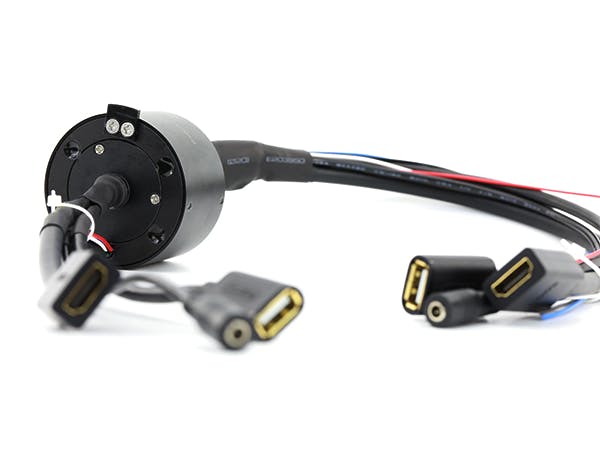
Capsule Slip Rings: These are compact, self-contained units that combine the rotor and stator. They are typically used in applications with limited space, such as medical devices, cameras, and UAVs.
Through-Bore Slip Rings: These have a hole in the center, allowing cables, shafts, or other components to pass through. They are commonly used in wind turbines, packaging machines, and rotary tables.

Pancake Slip Rings: Designed with a flat, disc-like shape, these slip rings are suitable for applications where vertical space is limited. They are used in radar systems and rotary joints.
Fiber Optic Slip Rings (FORJ): These are used for transmitting optical signals across rotating interfaces without converting them to electrical signals. They are essential in high-speed data transmission applications like medical imaging and defense systems.
High-Frequency Slip Rings: Designed for transmitting high-frequency signals, these slip rings are used in radar systems, satellite communications, and other high-frequency applications.
Hydraulic Slip Rings: These are used to transfer hydraulic fluids along with electrical signals. They are common in heavy machinery and industrial automation.
Wireless Slip Rings: These use wireless technology to transmit signals and power, eliminating the need for physical contacts. They are suitable for applications where maintenance and wear are concerns.
Mercury Wetted Slip Rings: These use mercury to maintain electrical contact, providing low resistance and high current capacity. They are used in specific industrial applications but are less common due to environmental concerns.
Miniature Slip Rings: These are small-sized slip rings designed for applications with tight space constraints, such as medical equipment and small robotics.
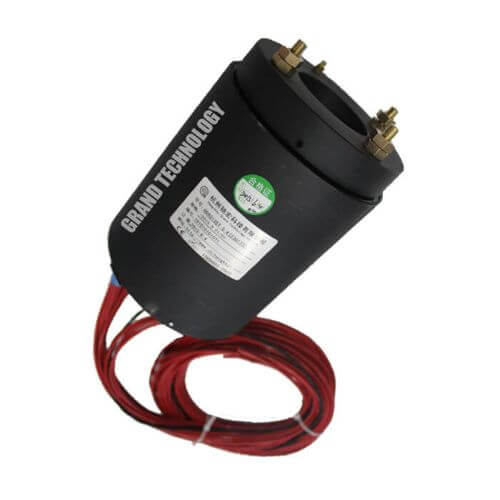
Heavy-Duty Slip Rings: Built to withstand harsh environments and high loads, these slip rings are used in construction equipment, mining machinery, and other heavy-duty applications.
Military and Aerospace Slip Rings: These are designed to meet stringent military and aerospace standards, ensuring reliability and performance in critical applications.
Ethernet Slip Rings: Specifically designed for transmitting Ethernet signals, these slip rings are used in data communication and networking applications.
Each type of slip ring is designed to meet the specific requirements of different applications, providing reliable transmission of signals and power in various industrial, commercial, and military environments.
Step for Installing a Standard Slip Ring
Since several types of slip ring models and devices use them, the installation will depend on the unique characteristics of the application. It is essential to install the right slip ring for your machinery. If your device is a slip ring motor, most come with a dedicated shaft position and insulating supports that have designated spots already indicated. However, not all machines come with this advantage.
A fairground ride, for instance, requires choosing safe cable routes and making individual brackets that can suspend the slip ring below the system’s deck. You will also need to add insulating spacers. Cable reel slip rings, on the other hand, are fitted on a bracket. This ensures the barrel remains fixed on the axis. You will also need an external cable tail and a torque arm to secure the slip ring to the fixed structure.
Rotating stage slip rings tend to be flat and should be fitted underneath the staging. It involves installing the brush great vertically while the slip ring remains insulated from other components. Railway turntables, on the other hand, feature slip rings installed on the pit’s walls with the graphite brush gear on the deck. It is essential to identify the unique requirements of your machinery. However, the basic procedure for installing typical slip rings involves these steps:
Step 1: Shaft Preparation
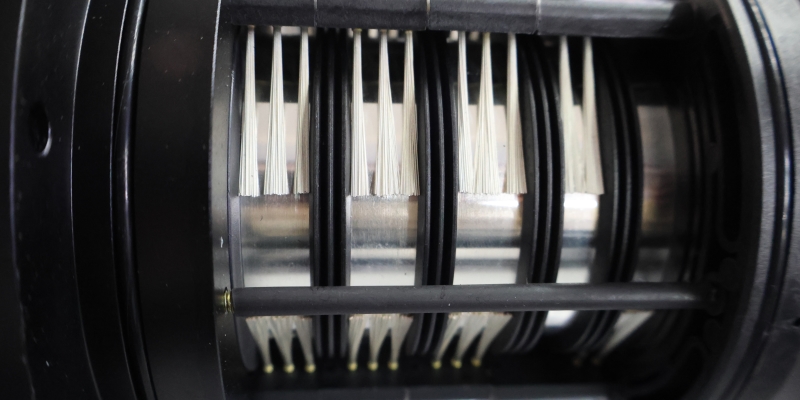
Locate the propeller shaft and clean it using a solvent cleaner that doesn’t leave any residue. When cleaning the shaft, gently sand it with 600-grit tape or emery paper. Make sure the polished area is beyond the area where the slip ring will be positioned. Cleaning removes non-conductive coatings that can reduce signal conductivity.
Step 2: Install the Bands
Install the bands carefully to avoid scratching. You can do this before or after the mounting assembly of the brush holder although it is recommended to do it before, which makes it much easier to clean the shaft mounting assembly area. The ring bands come in precise lengths, so you should ensure they conform to the shaft in the intended location.
Step 3: Clamp the System
A standard slip ring comes with two clamps per ring. The clamp should be tight on the bands to conform to the shaft but not too tight to restrict the shaft from moving. It is also recommendable to install each clamp screw mechanism 180 degrees away from the next to eliminate shaft unbalancing. Placing the device 90 degrees from the band parting line also achieves this feat, so you can combine the two.
Step 4: Final Adjustment
Once phase three is finished, you can install the brush mounting Assembly and then make the final adjustment to make sure everything aligns properly. Final adjustment usually involves tightening loose screws and measuring the alignments to prevent unbalancing.
Installation Slip Ring Guide
Proper installation of a slip ring is crucial for ensuring optimal performance and longevity. Here is a general guide for installing a slip ring:
Preparation
- Read the Manual: Always refer to the manufacturer’s manual specific to the slip ring model you are installing.
- Inspect the Slip Ring: Check for any visible damage or defects before installation.
- Tools and Materials: Gather all necessary tools and materials, such as screwdrivers, wrenches, mounting brackets, and electrical connectors.
Mounting the Slip Ring
- Determine the Mounting Position: Choose a suitable location that allows for easy access and maintenance.
- Align the Slip Ring: Ensure the slip ring is aligned properly with the rotating shaft or component. Misalignment can cause wear and damage.
- Secure the Slip Ring: Use the appropriate mounting brackets or clamps to secure the slip ring in place. Ensure it is tightly fixed to prevent any movement during operation.
- Verify Centering: If installing a through-bore slip ring, ensure the bore is centered around the rotating shaft.
Electrical Connections
- Isolate Power: Ensure that the power supply is disconnected before making any electrical connections.
- Connect Rotor and Stator Wires: Follow the wiring diagram provided by the manufacturer to connect the rotor and stator wires correctly.
- Secure Connections: Use proper connectors and ensure all connections are tight to prevent loose contacts.
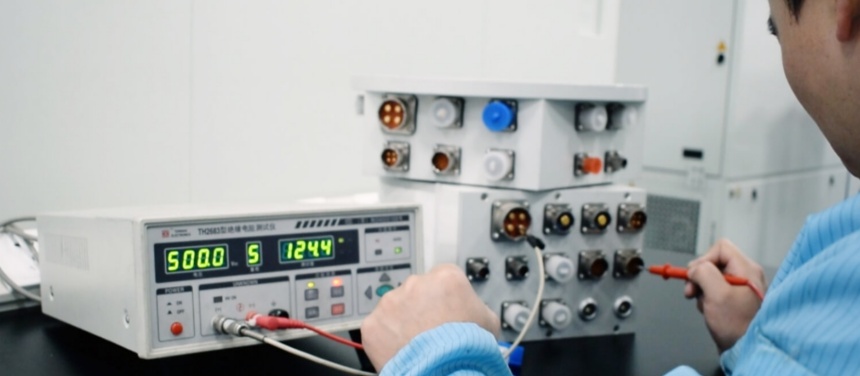
- Check for Short Circuits: Use a multimeter to check for short circuits or incorrect connections before powering up the system.
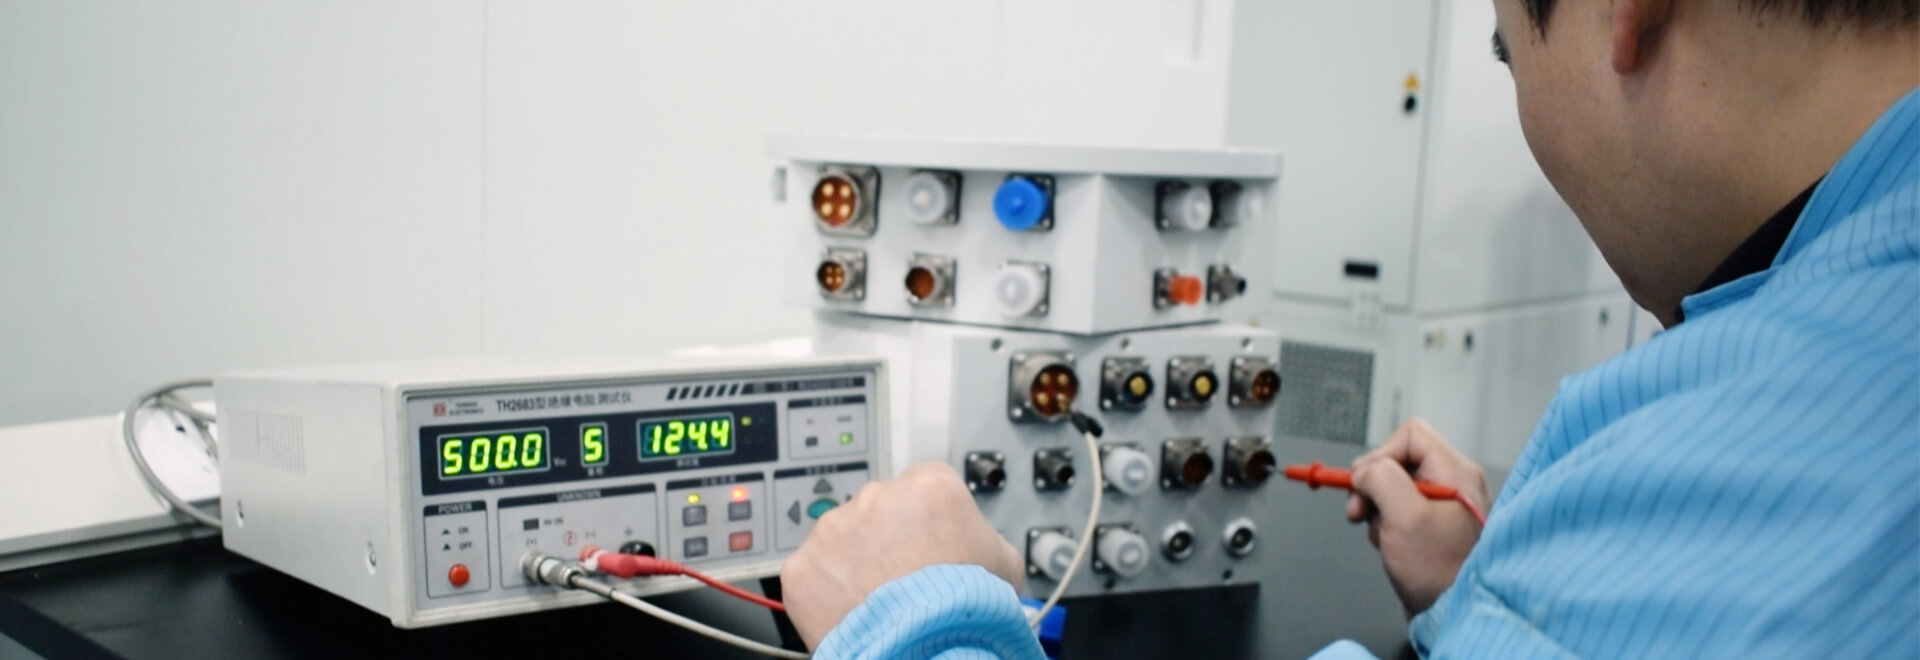
Testing the Installation
- Initial Power-Up: Gradually power up the system and monitor the slip ring for any unusual sounds, vibrations, or heating.
- Rotation Test: Slowly rotate the shaft or component to ensure smooth operation without any friction or resistance.
- Signal Transmission Test: Verify the transmission of signals and power through the slip ring by checking the output on the receiving end.
Maintenance and Monitoring
- Regular Inspection: Periodically inspect the slip ring for signs of wear, corrosion, or damage.
- Cleaning: Keep the slip ring and its surroundings clean to prevent dust and debris from affecting performance.
- Lubrication: If required by the manufacturer, lubricate the slip ring according to the specified guidelines.
Troubleshooting
- Noise or Vibration: Check for misalignment, loose mounting, or damaged components.
- Intermittent Signal: Verify all electrical connections and check for worn or dirty contacts.
- Overheating: Ensure proper ventilation and check for excessive load or friction.
Slip Ring Installation Styles
The step-by-step process of installing slip rings depends on the type of device used. Here is a look at some of the popular slip rings and installation styles they draw:
1. Through Bore Slip Ring Installation
Through-bore slip rings, also known as through-hole slip rings, feature a hollow space in the center of the design. Installing these slip rings is accomplished by fixing the rotary for both the inner and outer rings. You can also find bore rotor flange slip ring designs that can work with both fixed and rotating stators. As such, installation varies depending on the unique features in the design.
2. Rotor and Stator Flange Slip Ring Installation
Rotor slip ring installation is accomplished with the help of screws and anti rotor pole mount that provides balance to the machinery. Its name comes from the design which features a flange on the rotor and can be used in a myriad of industrial and non-industrial applications. Stator flange, on the other hand, is standard in miniature systems, where it is located on the exterior side of the rotating metal ring. However, unlike other slip rings, the rotating feature isn’t fixed to the cable, provided it is small.
3. PCB Slip Ring Installation
These slip rings feature PCB board substrates with the contact rings pressed on the board and coated using shrapnel. PCB slip rings are usually installed separately between the stator and rotor components to ensure sufficient concentricity and pressure. PCB slip rings also suit applications where vertical height is limited.
4. Pneumatic Hybrid Slip Ring Installation
Slip ring installation through pneumatic hybrid designs is mostly accomplished for industrial applications. The slip rings can rotate 360 degrees and require careful installation to ensure proper alignment between the brushes and the inner metal ring. Installing pneumatic hybrid slip rings is best suited to experienced vendors, primarily because of the size and complex nature of the machinery they are installed.
5. Multi-channel FORJ Slip Ring Installation
FORJ (fiber optics rotary joins) also known as fiber optics slip rings offer the ideal solution for data transmission between rotary joint components. It suits systems where large data transmission from a static to a rotating part is required. The installation addresses mechanical property improvement and reduces damage to fiber optics during operation.
How to install through hole slip ring
1. Preparation
- Read the Manual: Refer to the manufacturer’s manual specific to the through hole slip ring model.
- Inspect the Slip Ring: Check for any visible damage or defects.
- Tools and Materials: Gather necessary tools such as screwdrivers, wrenches, mounting brackets, and electrical connectors.
2. Mounting the Slip Ring
- Determine the Mounting Position: Choose a suitable location that allows for easy access and maintenance.
- Align the Slip Ring: Ensure the slip ring is aligned properly with the rotating shaft. Misalignment can cause wear and damage.
- Insert the Shaft: Slide the shaft through the central bore of the slip ring. Ensure the shaft fits snugly.
- Secure the Slip Ring: Use the appropriate mounting brackets or clamps to secure the slip ring in place. Ensure it is tightly fixed to prevent any movement during operation.
- Verify Centering: Ensure the bore is centered around the rotating shaft to avoid misalignment.
3. Electrical Connections
- Isolate Power: Ensure that the power supply is disconnected before making any electrical connections.
- Connect Rotor and Stator Wires: Follow the wiring diagram provided by the manufacturer to connect the rotor and stator wires correctly.
- Secure Connections: Use proper connectors and ensure all connections are tight to prevent loose contacts.
- Check for Short Circuits: Use a multimeter to check for short circuits or incorrect connections before powering up the system.
4. Testing the Installation
- Initial Power-Up: Gradually power up the system and monitor the slip ring for any unusual sounds, vibrations, or heating.
- Rotation Test: Slowly rotate the shaft to ensure smooth operation without any friction or resistance.
- Signal Transmission Test: Verify the transmission of signals and power through the slip ring by checking the output on the receiving end.
5. Maintenance and Monitoring
- Regular Inspection: Periodically inspect the slip ring for signs of wear, corrosion, or damage.
- Cleaning: Keep the slip ring and its surroundings clean to prevent dust and debris from affecting performance.
- Lubrication: If required by the manufacturer, lubricate the slip ring according to the specified guidelines.
Conclusion
Installing a slip ring can be effortless or sophisticated depending on the type, size, and machinery. It is essential to choose the right slip ring and installation procedure. Once you are done installing slip rigs, it is crucial to complete the correct installation for brush mounting assembly. You will also need routine maintenance to monitor the system and ensure everything is working as intended.
See What We Can Do