Surveillance and video systems are essential for home and business security. To ensure that your surveillance and video systems are up and running, you need to make sure they are connected properly. One key component of this connection is the slip ring connector.
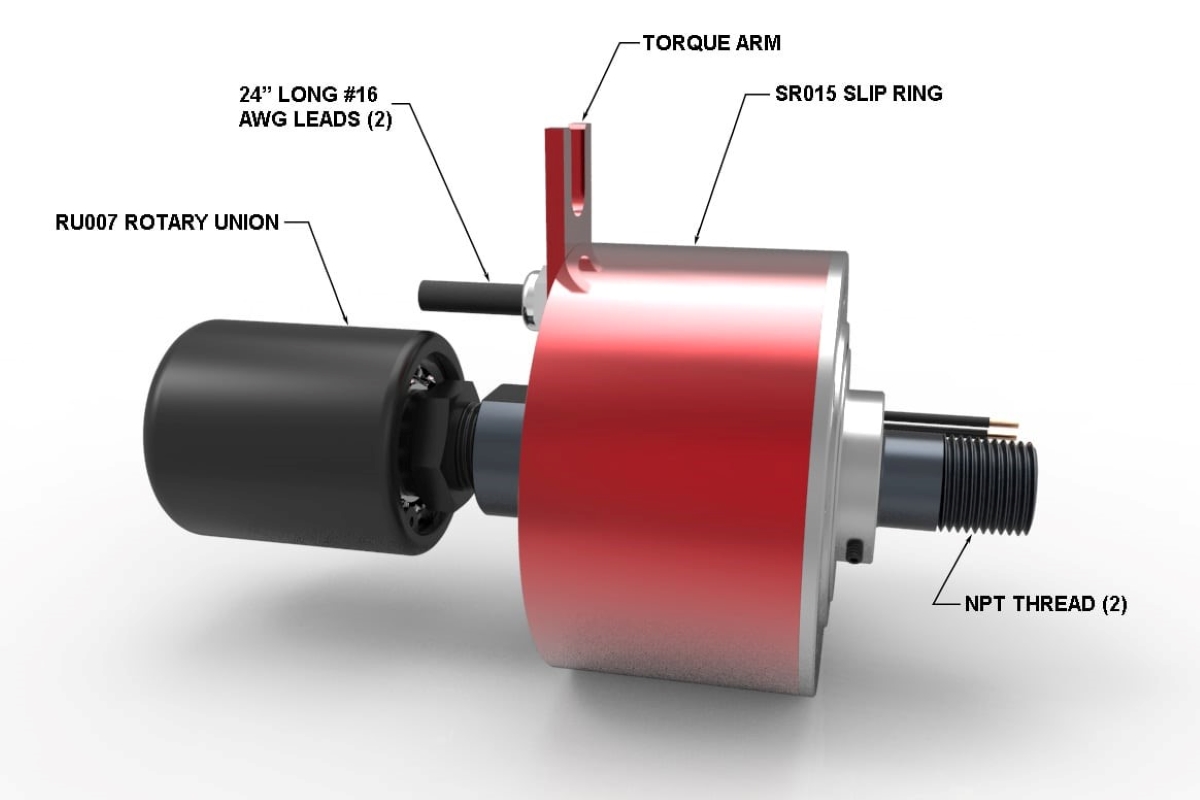
A slip ring connector is a device that allows for the continuous transmission of power and data signals between a stationary and rotating component. This makes it perfect for use in video and surveillance systems, as it allows for the continuous transmission of data and power signals between the camera and the monitor.
If you’re looking to set up a DIY slip ring connector for your surveillance and video system, here’s a step-by-step guide on how to do it:
Gather Your Supplies
The first step in setting up a DIY slip ring connector is to gather all the necessary supplies. You’ll need a slip ring connector, wire, and the appropriate tools to connect the wire to the connector. You may also need additional supplies such as a drill and screws.

Install the Slip Ring Connector
Once you have all the necessary supplies, the next step is to install the slip ring connector. This involves connecting the wires to the connector, and then mounting the connector onto the wall or ceiling. Make sure to follow the instructions provided with the connector, as the installation process can vary depending on the type of connector you’re using.
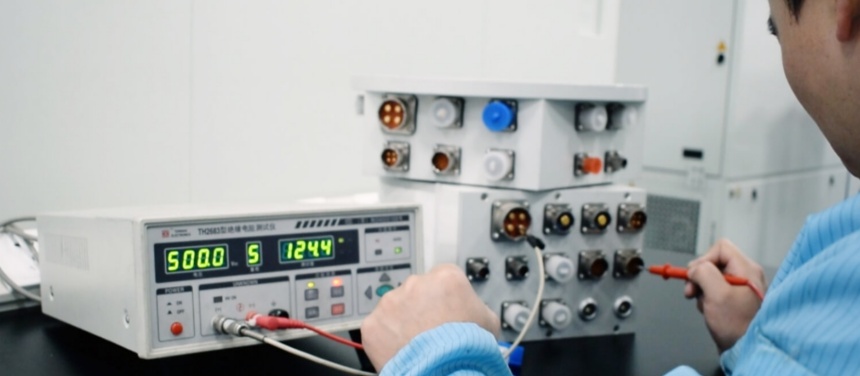
Test the Connection
After the slip ring connector is installed, the next step is to test the connection. This involves connecting the camera and the monitor, and then testing to make sure the connection is working properly. If the connection is not working, you may need to adjust the settings or replace the connector.
Setting up a DIY slip ring connector for your surveillance and video system is a relatively simple process. With the right supplies and a bit of patience, you can easily set up a slip ring connector for your home or business security needs.
Ready to learn more about our slip rings? Complete the form below to get started.


